AutoPage Category project diary Page 3 of 7
This page is automagically created and paginated for each category available in the posts on this site
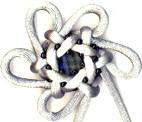
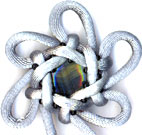 The “back” side (see right) is the first side I worked on. I think the bead placement is sometimes sub-optimal. On the “front” side (see left), I made sure to sew the beads higher up on the cords so that they couldn’t roll under and hide. I also pulled the cords very tight which ended up covering more of the centre bead with cord, after all that time I spent looking for a knot with a nice big centre hole to showcase the beads.
Even so, I’m pleased with the results (it’s certainly a successful proof of concept work). Now it just needs a tassel and it’s done.

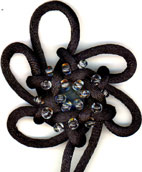 Having finished the grey knot off with little black beads I knew I wanted bigger beads (if the package had sizes I would tell you what they are, but there’s no label and I can’t really guess). I started with the clear and they’re actually a smidge on the large side. They work nicely with the knot itself giving a kind of dew drop effect, but they crowd the middle, overly obscuring the middle stone.
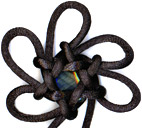 Here’s a progress shot of black version with the centre bead in place. Pretty, no? 8)
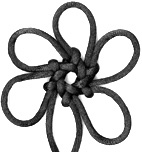
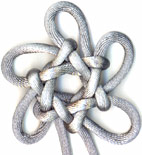 No way to tell if grey or black will go better with those hexagonal beads but to do it. Plus, if I give one away then I can keep the other one. That or give it away for the next thing…
In any case, this is a progress shot. I’ve already started to put knots together with beads and I’m liking the grey, but the little beads should maybe be bigger. We’ll see how it looks when it’s done.
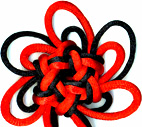 I finally successfully tied and tightened the type 2 hexagonal stellar knot. It’s nice but the centre hole is not as big as I’d hoped. So, it’s back to the standard stellar knot with fewer overlaps, methinks.
Read more

 The “back” side (see right) is the first side I worked on. I think the bead placement is sometimes sub-optimal. On the “front” side (see left), I made sure to sew the beads higher up on the cords so that they couldn’t roll under and hide. I also pulled the cords very tight which ended up covering more of the centre bead with cord, after all that time I spent looking for a knot with a nice big centre hole to showcase the beads.


